はじめに
n番煎じ感が否めない記事だけど、scroll-snap-type とかいう知らないプロパティくんがシゴデキっぽくて、わざわざ激重パッケージ用意する必要ないじゃんと思ったのでまとめておく
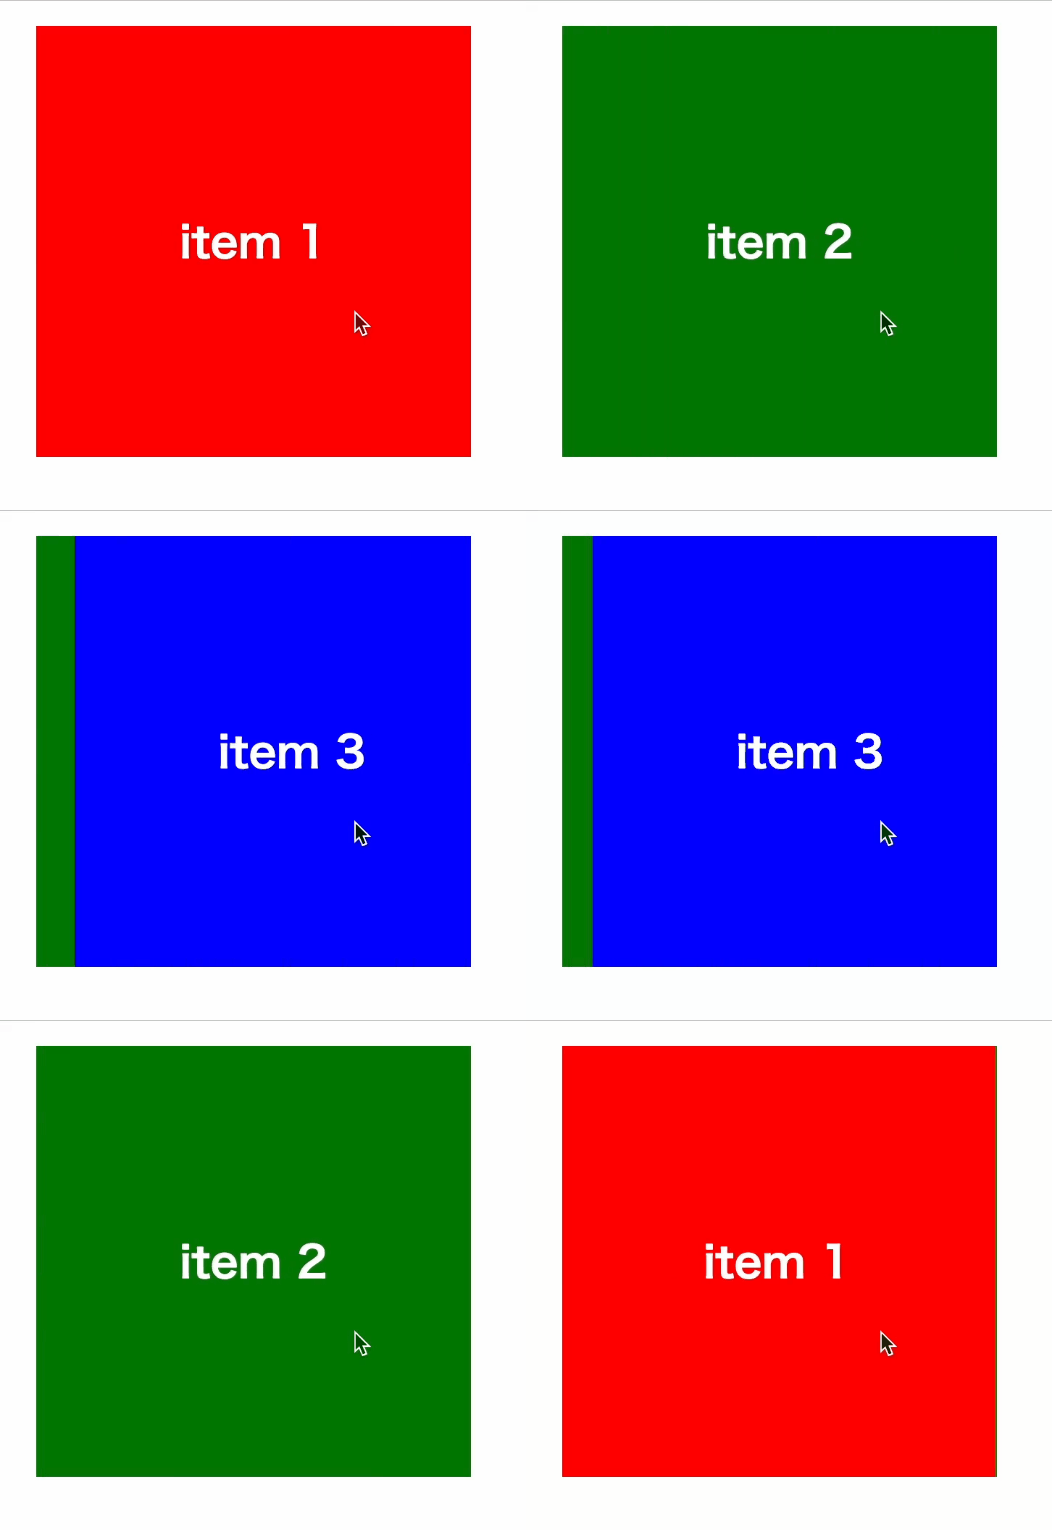
コード
<div class="container">
  <div class="items">
    <div class="item">item 1</div>
    <div class="item">item 2</div>
    <div class="item">item 3</div>
  </div>
</div>
:root {
  --width: 300px;
}
/* カルーセルのcontainerの領域を指定 */
.container {
  width: var(--width);
  height: var(--width);
}
.items {
  /* スクロールを停止するとスナップポイントにスクロールする */
  scroll-snap-type: x mandatory;
  display: flex;
  overflow: scroll;
  /* スクロールバーを非表示にする */
  &::-webkit-scrollbar {
    display: none;
  }
}
.item {
  /* スナップ位置 */
  scroll-snap-align: start;
  /* スナップ位置を通過しない。一旦ストップする */
  scroll-snap-stop: always;
  flex: 0 0 100%;
  width: var(--width);
  height: var(--width);
  /* 以降装飾に関するスタイル */
  font-weight: bold;
  font-size: 30px;
  color: white;
  display: flex;
  align-items: center;
  justify-content: center;
}
.item:nth-child(1) {
  background-color: red;
}
.item:nth-child(2) {
  background-color: green;
}
.item:nth-child(3) {
  background-color: blue;
}

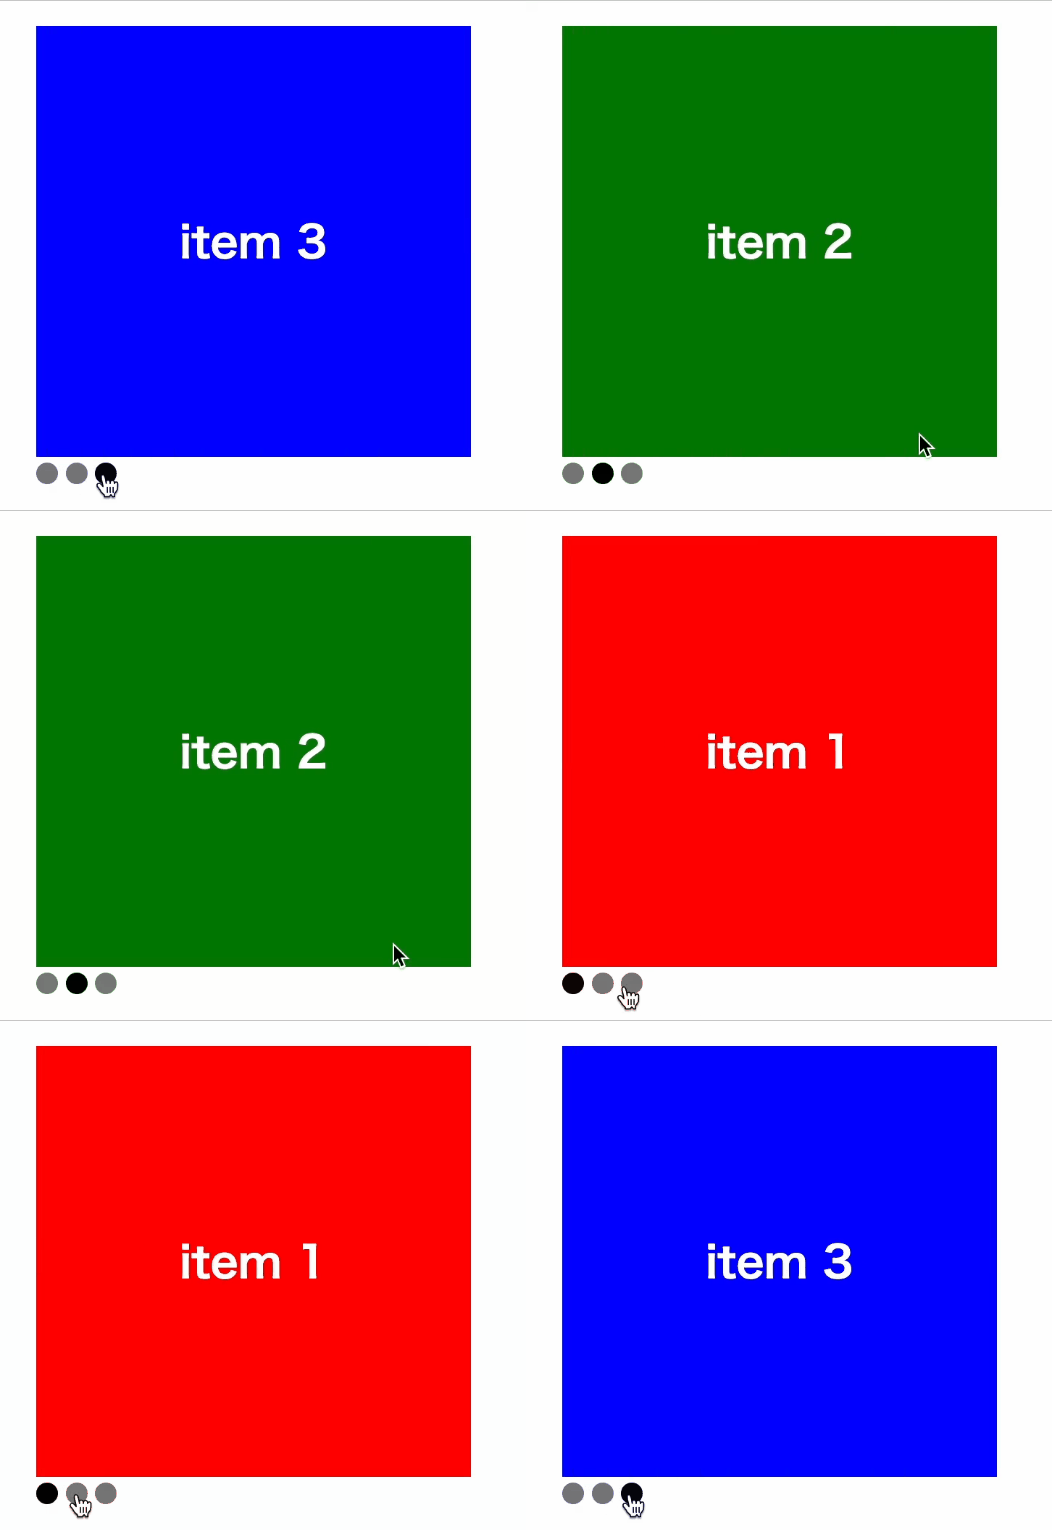
ページネーションもつけたい
ページネーションは JS ないと無理っぽい
<div class="container">
  <div class="items">
    <div class="item">item 1</div>
    <div class="item">item 2</div>
    <div class="item">item 3</div>
  </div>
  <!-- ページネーションとなるボタンの設置 -->
  <nav>
    <button type="button"></button>
    <button type="button"></button>
    <button type="button"></button>
  </nav>
</div>
.items {
  scroll-snap-type: x mandatory;
  display: flex;
  overflow: scroll;
  /* ナビゲーションをクリックしたときに smooth scroll させるために追加 */
  scroll-behavior: smooth;
  &::-webkit-scrollbar {
    display: none;
  }
}
/* ページネーションボタンの装飾 */
button {
  width: 15px;
  height: 15px;
  background-color: grey;
  border: none;
  border-radius: 50%;
  cursor: pointer;
}
const buttons = document.querySelectorAll("button");
const items = document.querySelector(".items");

buttons.forEach((button, index) => {
  // 先頭要素をアクティブとする
  if (index === 0) {
    button.style.backgroundColor = "black";
  }
  // ボタンをクリックしたときに同じ順のアイテムのボタンの色を変更する
  button.addEventListener("click", () => {
    [...buttons].findIndex((tmp) => {
      if (tmp === button) {
        tmp.style.backgroundColor = "black";
        return;
      }
      tmp.style.backgroundColor = "grey";

      // スクロール位置を変更
      items.scrollLeft = width * index;
    });
  });
});

const width = parseInt(
  window.getComputedStyle(document.querySelector(".item")).width
);
// スクロール終了時に該当アイテムのボタンの色を変更する
items.addEventListener("scrollend", (elm) => {
  const scroll = elm.target.scrollLeft;
  const num = scroll / width;
  buttons.forEach((button, index) => {
    button.style.backgroundColor = "grey";
    if (num === index) {
      button.style.backgroundColor = "black";
    }
  });
});
アクティブ状態のプロパティが多い場合は classList を操作したほうが楽かも

CodePen
See the Pen Untitled by m1y474 (@m1y474) on CodePen.
最後に
scroll-snap-type にずっと proximity を指定してて、スナップ部分で止まるのは無理なんだと諦めて JS で実装した俺の無駄な努力を供養させてくれ
// スクロール終了時、起点で止まっていない場合に表示領域が多い方にスクロールさせる
document.querySelector(".items").addEventListener("scrollend", (elm) => {
  const width = parseInt(window.getComputedStyle(document.querySelector(".item")).width);
  const max = document.querySelectorAll(selector).length;
  const scroll = elm.target.scrollLeft;
  for (let index = 0; index < max; index++) {
    const point = index * width;
    if (scroll > point && scroll < point + width) {
      const half = point + (width / 2);
      if (scroll < half) {
        elm.target.scrollLeft = point;
        return;
      }
      elm.target.scrollLeft = point + width;
    }
  }
});
株式会社エイルシステムでは Web エンジニア・モバイルアプリエンジニアを募集しています。
実務経験がなくても OK です。ご興味のある方は弊社 HP よりご連絡ください。